Once you have created an invoice in EdgeCTP and copied it to FreeAgent, you may want to cancel the invoice by issuing a Credit Note in EdgeCTP and copying that to FreeAgent too. Again this is relatively simple to do. Just make sure you’ve first connected EdgeCTP to FreeAgent and we’re good to go.
In this post you’ll learn how to:
- Create a Credit Note in EdgeCTP to cancel an existing Invoice
- Create a Credit Note in EdgeCTP just to credit a client’s account
- Copy and view the Credit Note in FreeAgent
How to Create a Credit Note in EdgeCTP
The following is a brief step-by-step guide that shows how to create a Credit Note in EdgeCTP.
EdgeCTP allows you to create a Credit Note to cancel either a Purchase Invoice, a Standard Accounts Invoice or a Commercial Invoice (usually used when trading internationally). Remember that an invoice that has been authorized and copied to the accounting package (FreeAgent) or sent to the client, needs to be canceled with a Credit Note.
TIP: If you have NOT copied the invoice to the accounting package AND NOT sent it to the client, then you can simply cancel the Invoice within EdgeCTP WITHOUT a credit note.
Example assumption: If you want to follow along with the example below, where we’ll create a Credit Note to cancel an existing invoice that has been copied to FreeAgent, then we’re assuming that you’ve already created an invoice that you’ve copied to FreeAgent, and now you want to cancel it with a credit note. You should already be connected to FreeAgent from within EdgeCTP before you try out this example.
Find the Invoice to Cancel in EdgeCTP
Begin by first finding the invoice you wish to cancel with a credit note. Login to your EdgeCTP account and make sure you have authorized the correct Permissions to action the document.
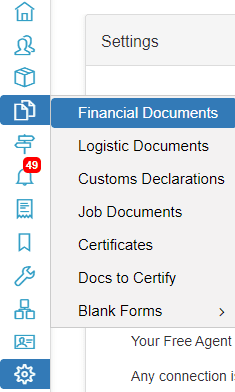
- From the home dashboard choose from the tabs: Docs-n-Certs > Financial Documents.

- The ‘Financial Documents‘ dashboard will appear, choose the ‘Invoice‘ tab’ and search for an invoice that has been authorized and you wish to cancel. You can use the ‘Search‘ box if you know the invoice number or buyer’s company name etc. Notice if the ‘Acct.‘ column has a value of ‘Yes‘, which means the invoice has been sent to FreeAgent (the accounting package).
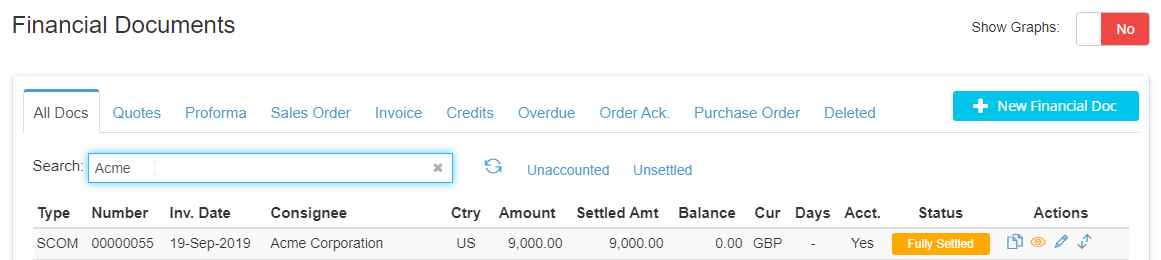
EdgeCTP: Select invoice to the credit - Having located the invoice you wish to credit, click the ‘Edit‘ (pencil) icon from the Actions and wait for the Invoice to appear.
Edit the invoice to the credit
Cancel the found invoice with a Credit Note
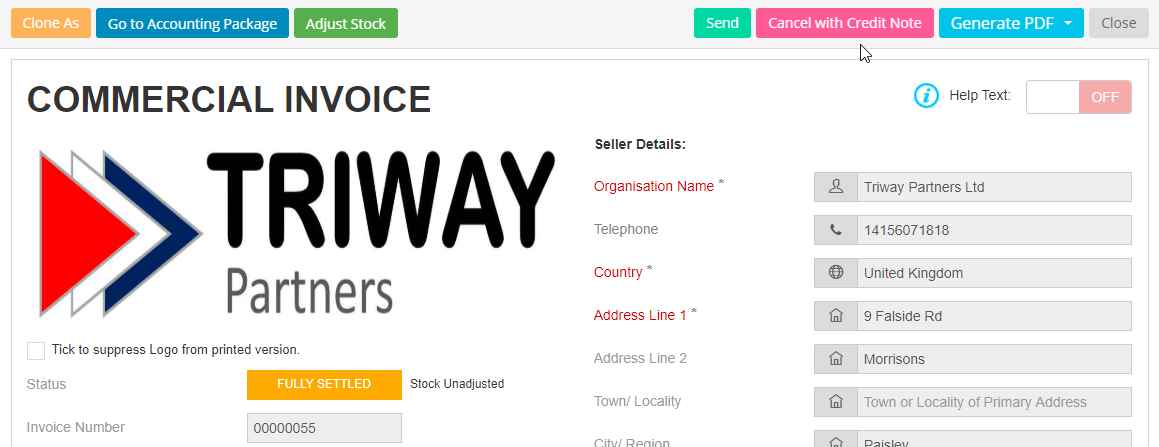
- Make sure this is the correct invoice that you wish to credit. If it is, then click on the Actions button at the top and select [Cancel with Credit Note]
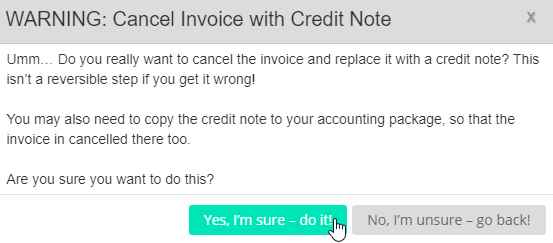
- When asked if you are sure you want to cancel the invoice with a credit note, click the [Yes, I’m sure – do it!] button.
- Wait for the system to cancel the Invoice and replace it with a Credit Note on your screen (which is in a draft state initially) and reference the invoice (by number) that it is crediting.
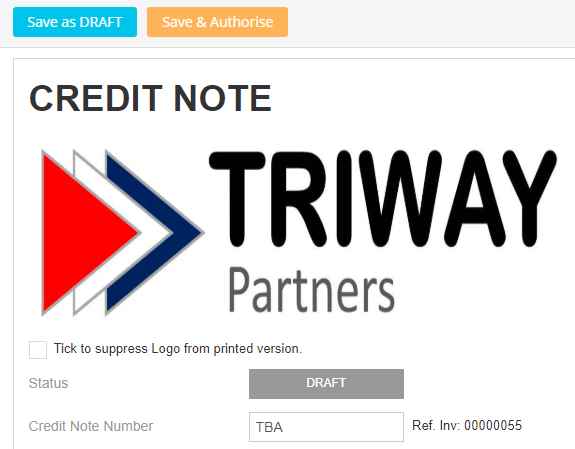
Credit Note with reference to the invoice it is crediting - Check the Credit Note is correct, which should be a mirror image of the Invoice that the Credit Note is canceling (e.g. amounts being Refunded etc.).

Refund amount reflects the original Invoice amount - Once you are ready, click the [Save & Authorise] button at the top of the Credit Note to create the Credit Note within EdgeCTP (if you’re asked again to confirm you wish to cancel the Invoice with the Credit Note, then just click the [Yes, I’m sure – do it!] button).
- Wait for the system to perform the necessary cancellation and creation steps and the ‘Authorised‘ Credit Note will re-appear. That’s it, you’ve successfully created a Credit Note in EdgeCTP!
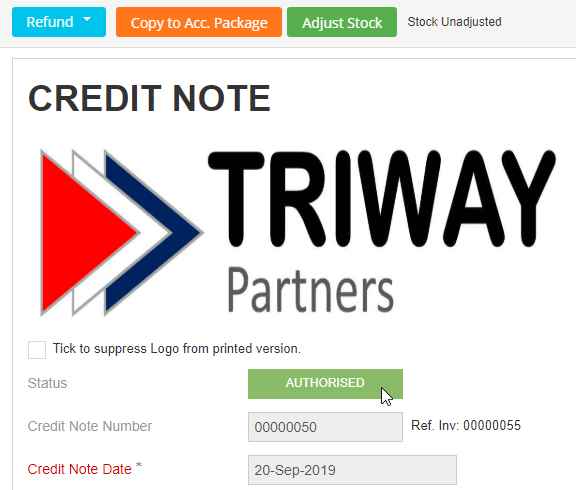
Authorized Credit Note
Send the Credit Note to FreeAgent
- If the original Invoice (that you’d previously searched and selected) had been copied to FreeAgent (i.e. Acct. = ‘Yes‘ on the Invoice dashboard), then you should now ALSO copy this Credit Note to FreeAgent, so that the Invoice is credited in the accounting package too.
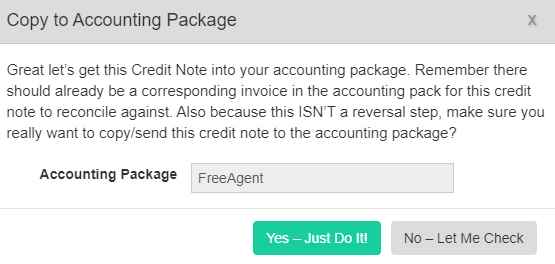
- With the Credit Note that you wish to send to FreeAgent visible on the screen, click the [Copy to Acc. Package] button, and when asked to confirm, click the [Yes – Just Do It!] button.
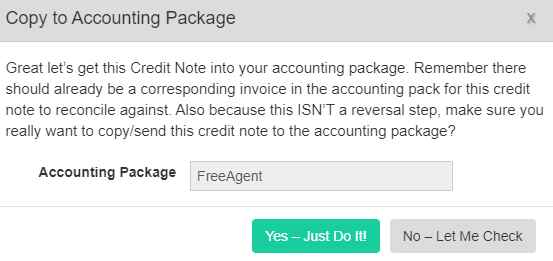
Confirm you wish to send the credit note to FreeAgent - Wait for the copying processing to complete and the Credit Note re-appears with the [Go to Accounting package] button visible – just click it to open a new tab for FreeAgent and view the Credit Note in FreeAgent (if required, just login to FreeAgent as normal).
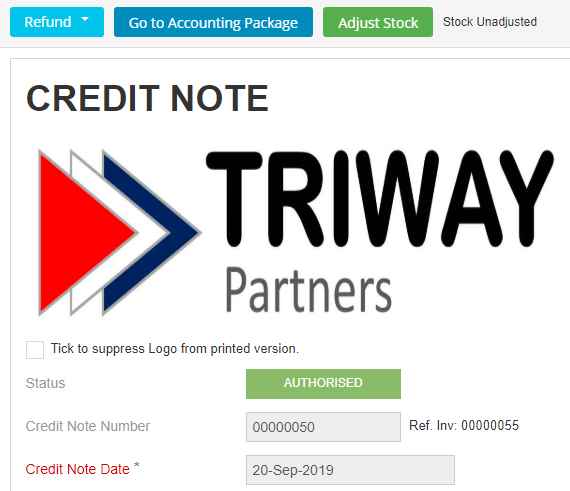
Copied Credit Note allowing you to [Go to Accounting Package] and view it in FreeAgent - Make sure the Credit Note in FreeAgent is a true reflection of the same Credit Note in EdgeCTP.
Refunding a Credit Note in FreeAgent
Both FreeAgent and EdgeCTP can refund/settle credit notes. In the example below (carrying on from the steps above) we’ll ‘part’ refund/settle a credit note in FreeAgent and then complete the remaining balance settlement in EdgeCTP. However, you can refund/settle the credit note ‘in full’ within FreeAgent in just the first step; we’re only doing refunding in this part-and-part way to demonstrate that both FreeAgent and EdgeCTP can settle a Credit Note.
- With the Credit Note open in FreeAgent and visible on the screen, click ‘Add a Manual Payment‘ link at the top of the Credit Note.
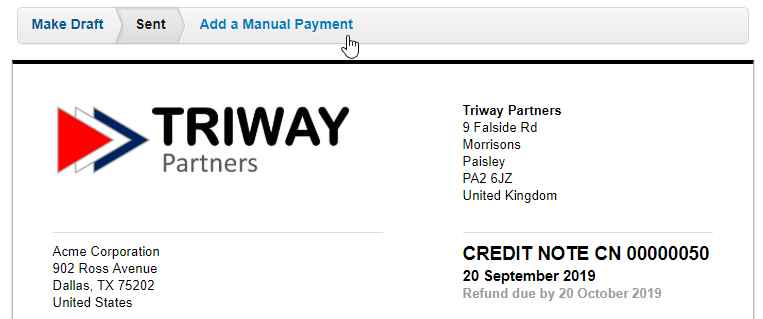
Manual Pay a Credit Note in FreeAgent - In the New Manual Bank Account Entry screen of FreeAgent, set the following values:
- Type – leave as ‘Credit Note Refund’
- Dated on – leave it as today
- Value – this initially shows the full amount that needs to be refunded. If you’re settling/refunding it all now, then just leave this as the full amount. For this example, let’s say we’re settling/refunding only £4,000 (leaving a balance of £5,000 from the £9,000, which we’ll completely refund in EdgeCTP).

Adjust the Value to suit the refunding amount or leave as is for a full refund - Leave the remaining fields are they are and click the [Create and Finish] button
- The Credit Note reappears in FreeAgent showing the refunded amount and balance due.
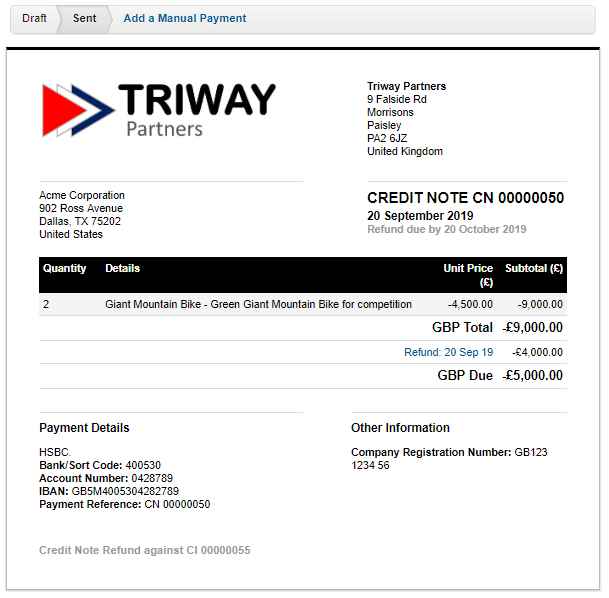
FreeAgent: Part Refunding Credit Note - That’s it, you’ve done a credit note refund in FreeAgent. If you want to see this refunded Credit Note amount reflected in EdgeCTP, then:
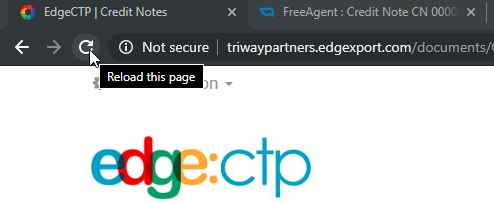
- Click on the EdgeCTP | Credit Note tab in your browser (or login to EdgeCTP and go to Doc-n-Certs > Financial Documents > Credits and open the Credit Note you wish to see refunding on).

Switch to EdgeCTP from FreeAgent (in Google Chrome) - If necessary click the browser reload page icon button so that the information of any Credit Note refunds in FreeAgent are automatically fetched into EdgeCTP.
Reload the Credit Note page to pull-in/sync with FreeAgent refund amounts - Scroll to the bottom of the Credit Note and notice the refund/settlement history. If FreeAgent has fully settled this Credit Note then the Refund Balance Due would be zero. Alternatively, any remaining balance can be settled in EdgeCTP (see next step).

Refunded amount(s) and balance due for the Credit Note
- Click on the EdgeCTP | Credit Note tab in your browser (or login to EdgeCTP and go to Doc-n-Certs > Financial Documents > Credits and open the Credit Note you wish to see refunding on).
Refunding a Credit Note in EdgeCTP
- Open (in edit mode – i.e. pencil action) the Credit Note you wish to pay the refund amount again in EdgeCTP (if you’re continuing from the previous step then you’re already seeing it on the screen)
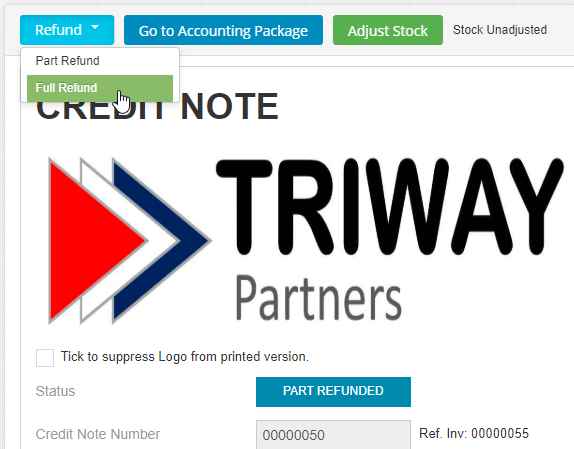
Full Refund a Credit Note in EdgeCTP - Click the [Refund] button at the top left of the Credit Note and choose ‘Full Refund‘ (you can also ‘Part Refund’ in a similar manner, and you adjust the Payment/Refund Amount accordingly in the next step).
- On the Confirmation pop-up, just make sure the Payment/ Refund Amount is correct (or adjust accordingly in the case of a ‘Part Refund’) and click the [Save] button.
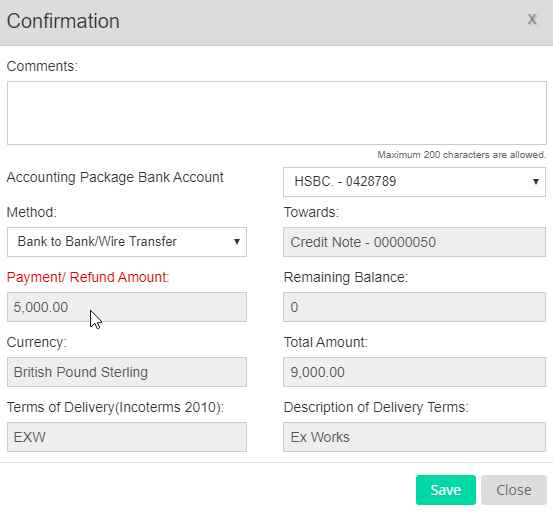
Confirm remaining balance Full Refund in EdgeCTP - Credit Note reappears set to FULLY REFUNDED; you can scroll to the bottom and see the refund payment history in the Refund Receipts panel.
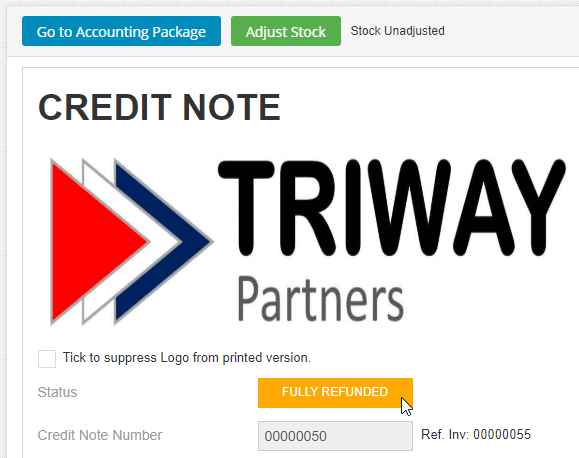
Fully Refunded Credit Note in EdgeCTP - To see the EdgeCTP refund reflected in FreeAgent, just click the [Go to Accounting Package] button at the top of the Credit Note and FreeAgent’s Credit Note is shown.
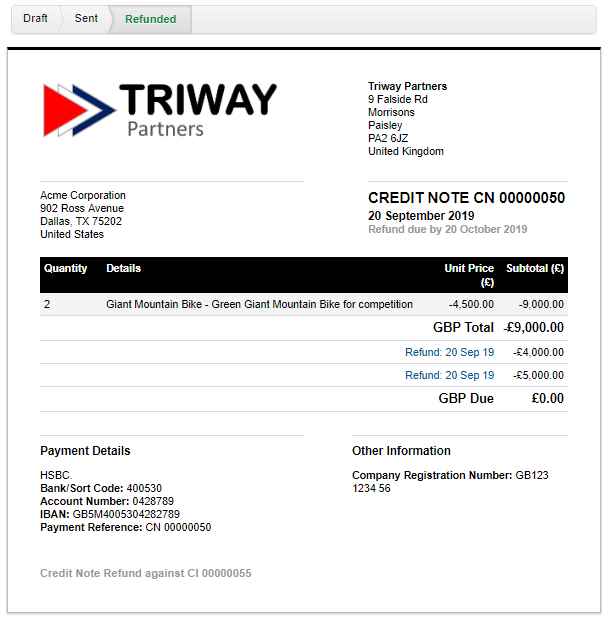
Fully refunded Credit Note in FreeAgent - Make sure that the Credit Note amount corresponds with EdgeCTP.
Create a Credit Note by itself in EdgeCTP
Occasionally, you may wish to just create a Credit Note to refund monies to a client, which is NOT related to any particular invoice or sales order, e.g. compensate a client for their loss or incident. In which, case you can create a Credit Note in EdgeCTP WITHOUT needing to first find an invoice to cancel. For accounting completeness, we’ll also copy the Credit Note to FreeAgent.
- Login to EdgeCTP and from the main (home) dashboard, use the tab menu, and choose: Docs-n-Certs > Financial Documents.
- From the Financial Documents dashboard click on the [+ New Financial Docs] button and choose Credit Note from the menu.
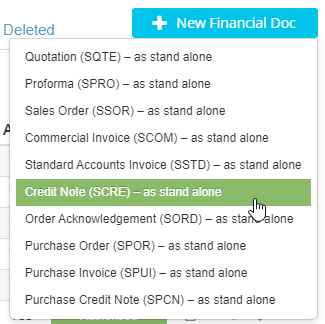
Choose Credit Note to Just Create it - Wait for the Credit Note to appear and complete the fields you need to populate; mandatory fields have red field names and marked with an asterisk (*).
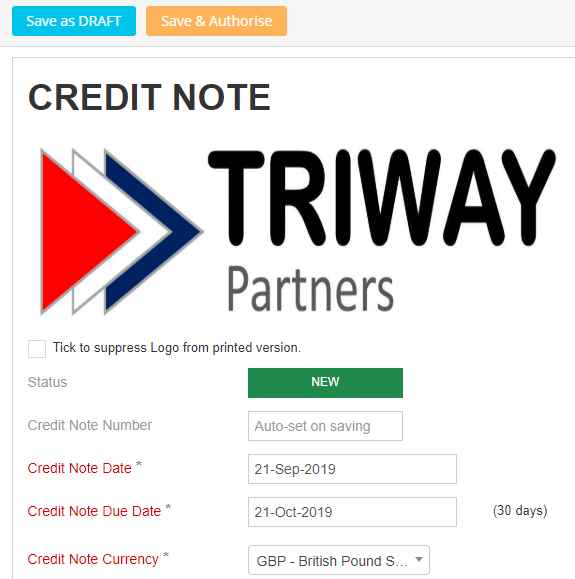
Complete mandatory and other necessary fields - Once all the necessary fields are populated, click the [Save & Authorise] button to create the Credit Note and set its status to ‘Authorised‘. You’ve now created the Credit Note in EdgeCTP.
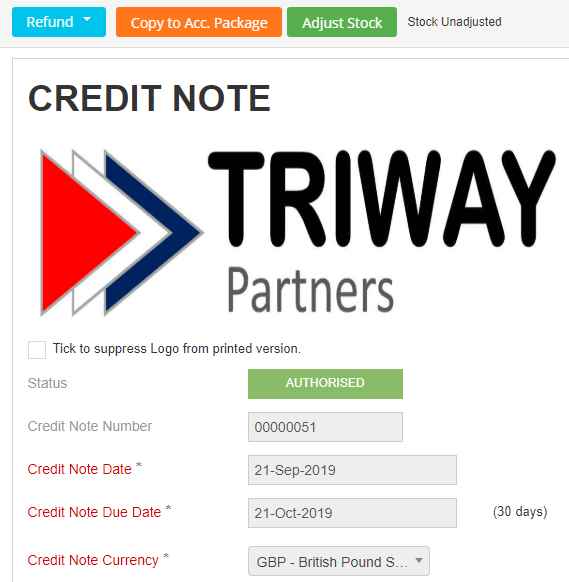
Authorized Credit Note; ready for copying to the accounting package
Send/Copy the Credit Note to FreeAgent
- To send the Credit Note to FreeAgent, make sure you’re still connected to FreeAgent, and just click the [Copy to Acct. Package] button at the top of the Credit Note and when asked if you’d like to copy it to FreeAgent, then click the ‘Yes, just do it!‘ button.
Copy Credit Note to FreeAgent - Click the [Go to Acct. Package] button to open a separate tab in your browser to view Credit Note in FreeAgent.
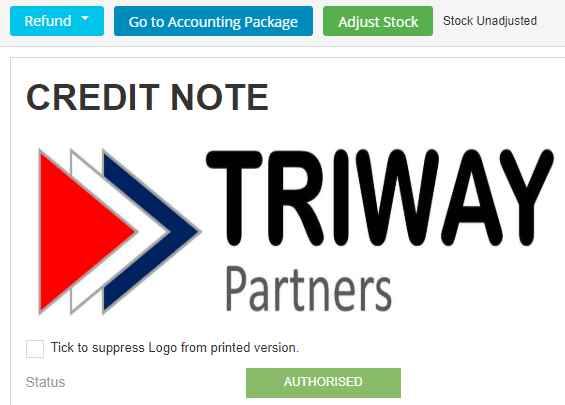
Click ‘Go to Acct. Package’ to view the Credit Note in FreeAgent - The copied Credit Note appears in FreeAgent.
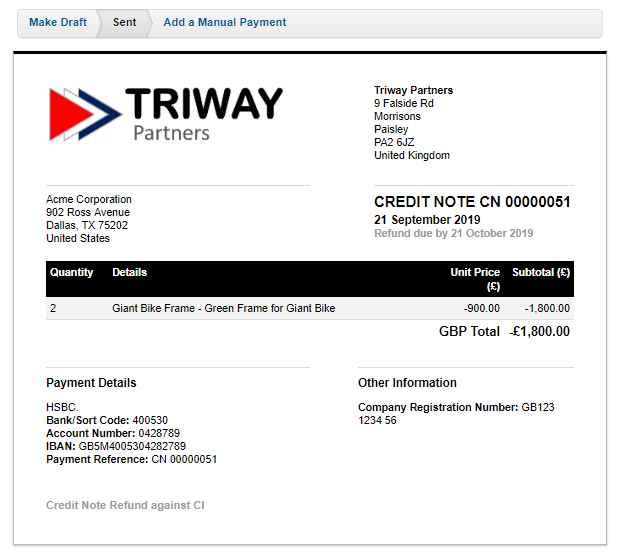
Copied Credit Note in FreeAgent as received from EdgeCTP
If you want to settle/refund the physical cash (via the bank account) related to the Credit Note and wish to know how to do this, then scroll upwards in this blog and see the Refunding a Credit Note in EdgeCTP section steps.
Get a PDF or Printed Credit Note in EdgeCTP
To get a PDF formatted credit note (for electronic emailing) or printing (for posting a paper copy) to clients: open the Credit Note and then choose Home > Documents > Financial Documents and find the Credit Note you wish to print/PDF.
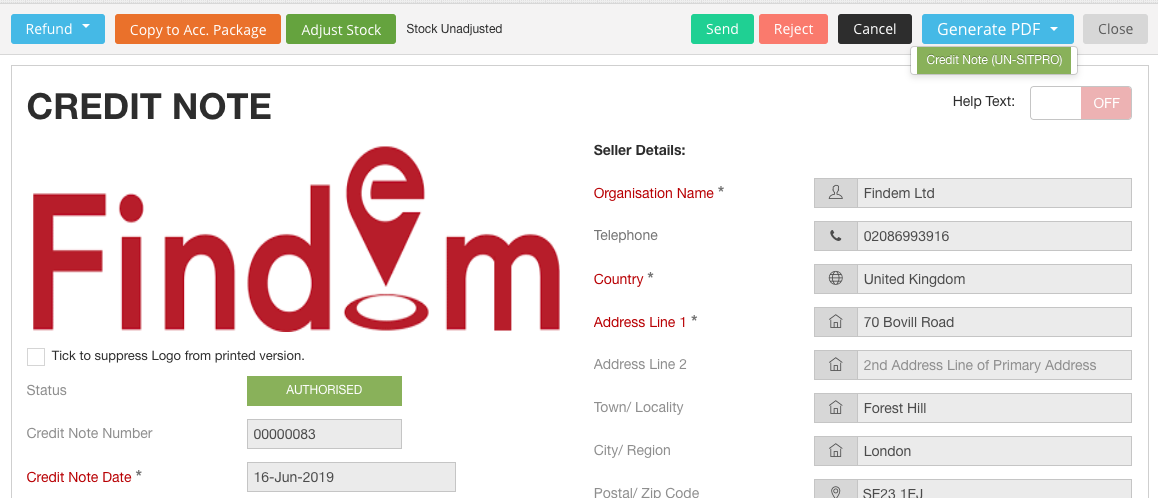
Use [Generate PDF] to get an email or printable Credit Note
- Click [Generate PDF] and choose Credit Note (UN-SITPRO).
- The system will download the PDF version of the Credit Note to your local device/computer.
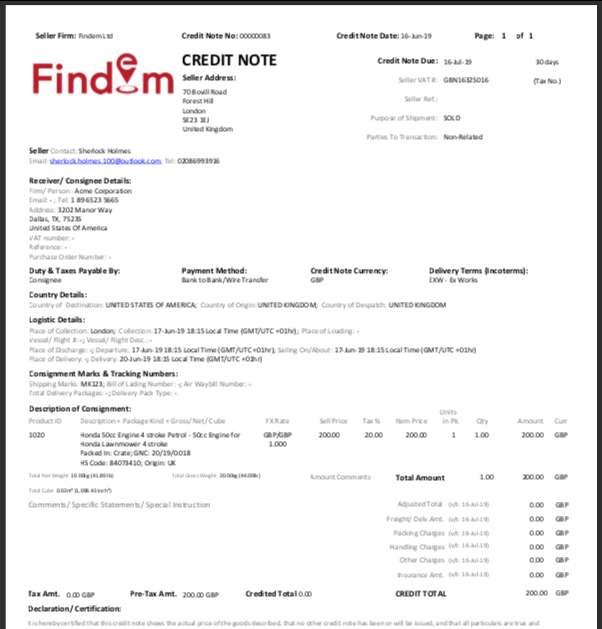
- Use the PDF version to email or print on paper.