
Overview Quickly Get Started with EdgeCTP
This post will show you how to quickly get started with EdgeCTP after you’ve logged in for the very first time. You’ll learn how to:
- Set Up Your Company Details
- Manage Signatures, Users + Passwords
- Change Settings + Connections, e.g. Chambers and Formal Undertakings
Set Up Your Company Details
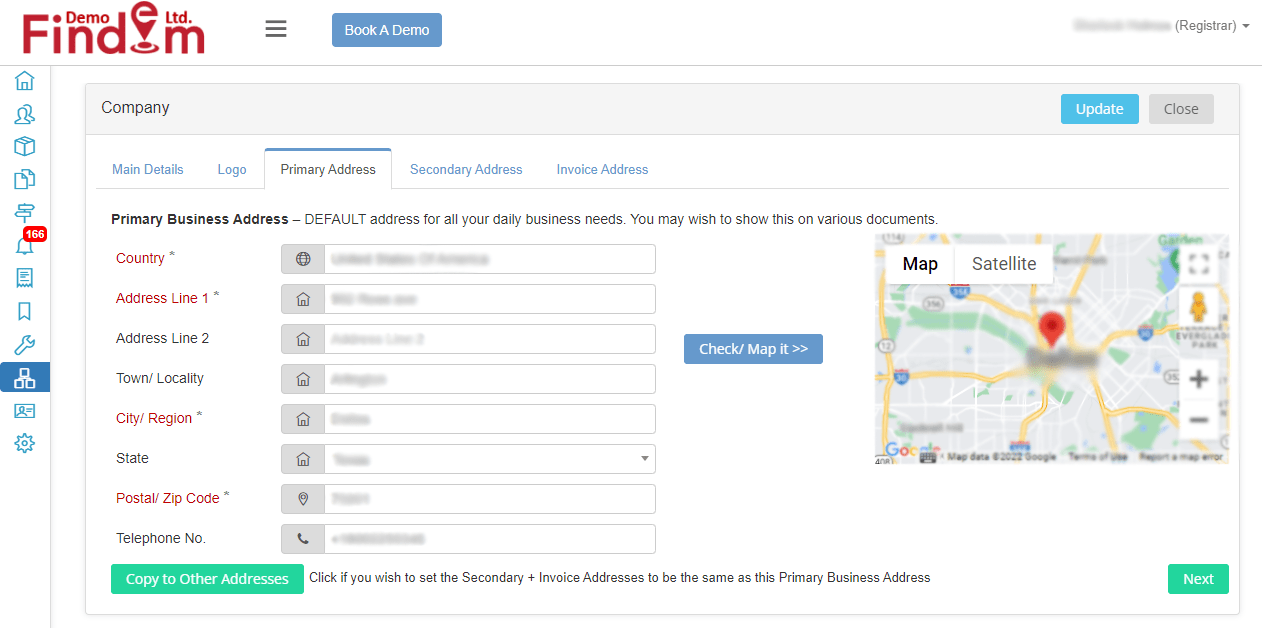
The first time you log in (using information from the Welcome email you are received when you signed-up to EdgeCTP) you’ll arrive at the Company settings page. You should fill in as many of the fields as possible, in each tab/section of the Company page (red fields with an asterisk (*) are mandatory), because this will save you time later when you’re creating trading documents, etc.
 EdgeCTP: Company details
- Main Details – these are the key fields related to your company, and you should try and complete almost all of them
- Logo – add your logo image to this section, so if you create a quote, invoice, etc., then your logo will appear on the document automatically
- Address
- Primary – this is your primary business address, which you should fill in
- Secondary – this is your secondary business address, and if it’s the same as your primary address, then click the [Copy from Primary Address] button
- Invoice – this is any address you wish to show on invoice and invoice related documents, such as certificates of origin or formal undertakings with Chambers of Commerce. If you plan on doing trading certificates, then make sure this Invoice address corresponds with the address you wish to also show on the certificates + chamber of commerce formal undertakings, because the business address on the Invoice, Certificates, and Formal Undertaking must all be the same. If the Invoice business is the same as your primary address, then click the [Copy from Primary Address] button
- Click the [Update] button to save the details you have entered
Manage Signatures, Users + Passwords
Adding + Changing Digital Signatures to EdgeCTP
In this section, you’ll learn how to add and change digital signatures (scanned images of physical signatures), which you may wish to add as authorization to your trading documentation (quotes, invoices, certificate of origin applications, packing lists, etc.).
- To add/change your, or a user’s signature, from the EdgeCTP Main Dashboard, choose the Home menu at the top left of the screen, and choose Users & Subscription option

- From the Users dashboard, choose the Edit (pencil) action of the user for whom you wish to add/change a signature Edit the user that you wish to change the signature in

- When the User Detail form appears, click on the Signatures tab

- When the Signature form appears, you’ll have a choice to make:
-
- Signature – click on the image box (if the signature is NOT there) to add a new signature, or click on an existing visible signature to change to a different signature. When the file dialog box appears, navigate to a JPG, PNG or GIF file of the signature and click the [Open] button to load the signature image
- Clean – click this button to sharpen the image as much as possible
- Remove – click this button to simply remove the current signature
- Clear Background – click this button to make the signature’s background transparent
- Click the [Update] button to save the new signature
Manage Users in EdgeCTP
Change Your Login Passwords in EdgeCTP
Change Settings + Connections in EdgeCTP
Leave a Reply